1
Log in to Seller Central
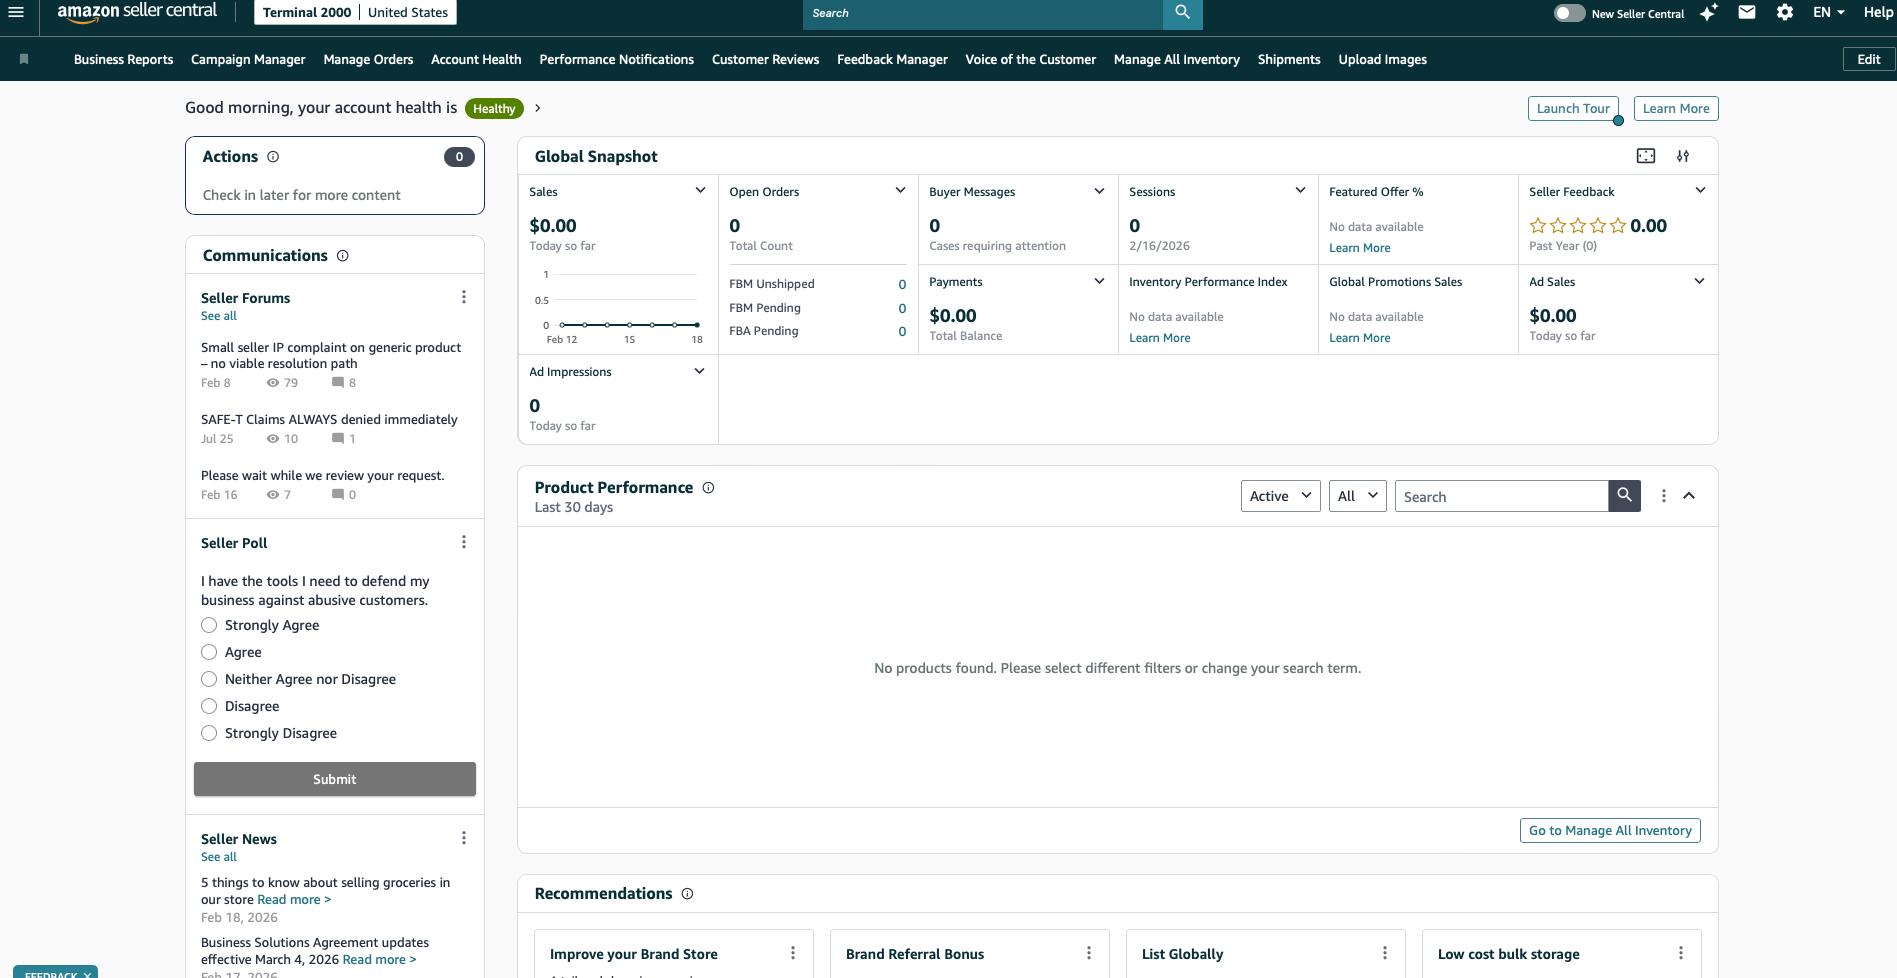
Open sellercentral.amazon.com and sign in to the account you want to give us access to.
A quick step-by-step for adding Ecommagnet as a user on your Seller Central account. It takes about five minutes, and it is what lets us build your audit on your real numbers rather than estimates.
Open sellercentral.amazon.com and sign in to the account you want to give us access to.
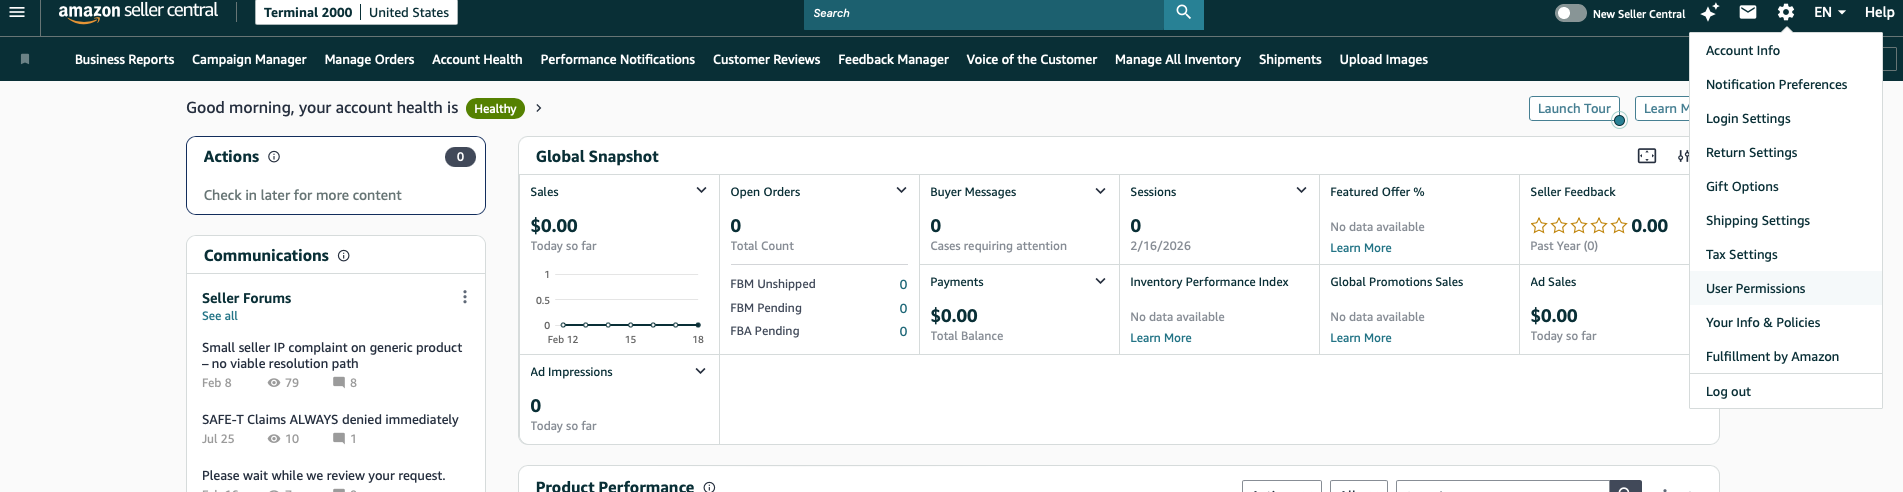
In the top-right corner, click the gear icon (⚙️). In the menu that opens, click User Permissions.
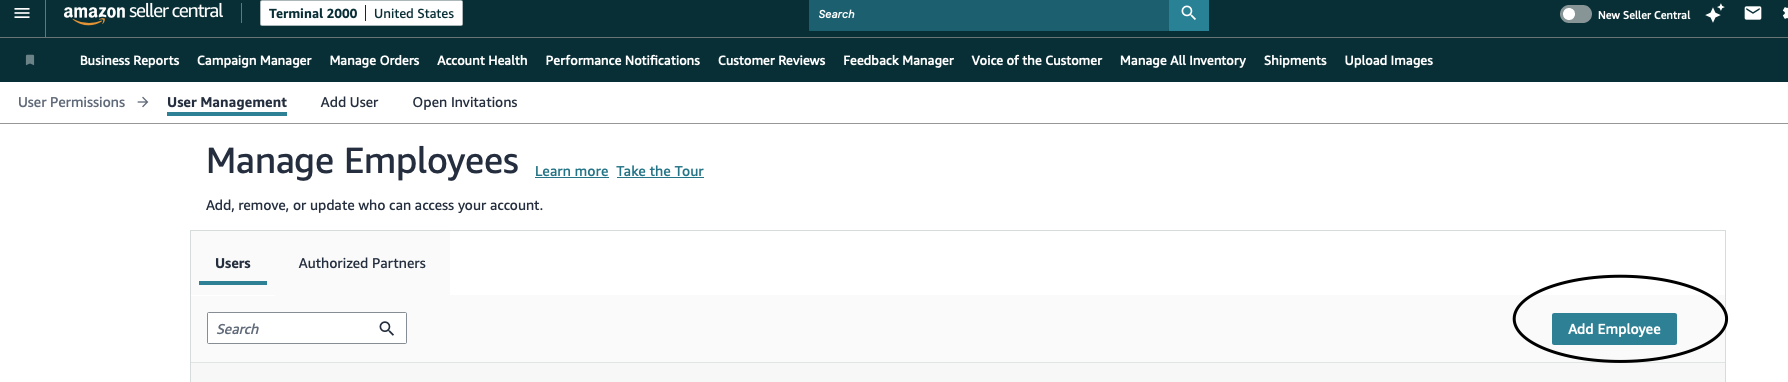
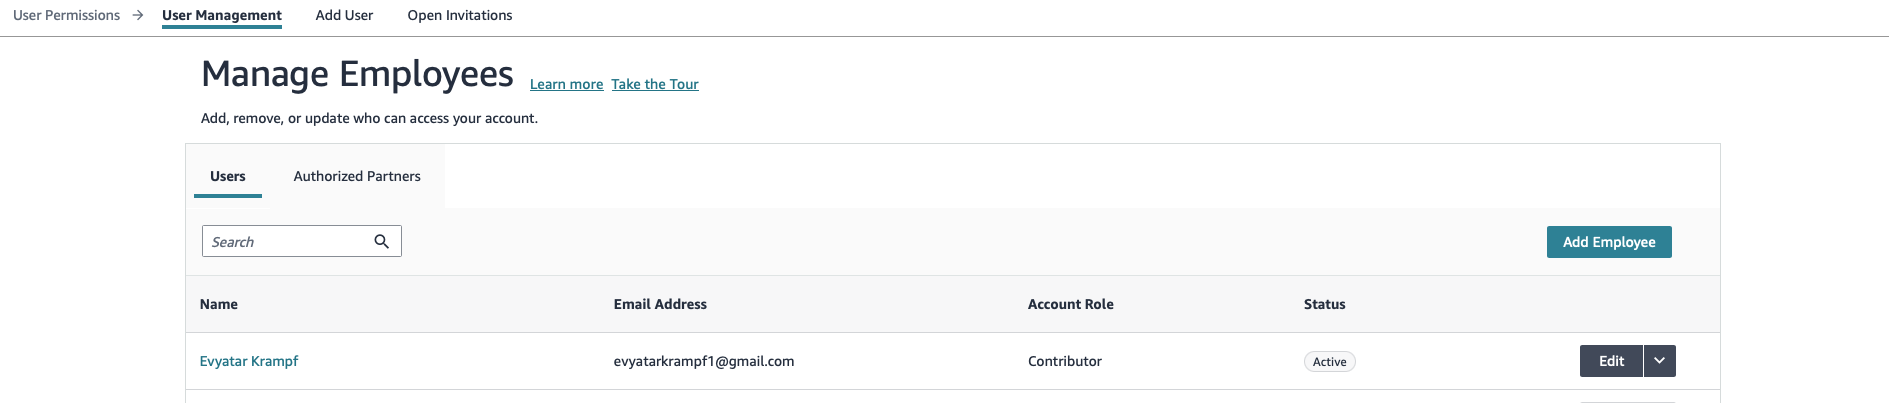
On the right side of the Manage Employees page, click the Add Employee button.
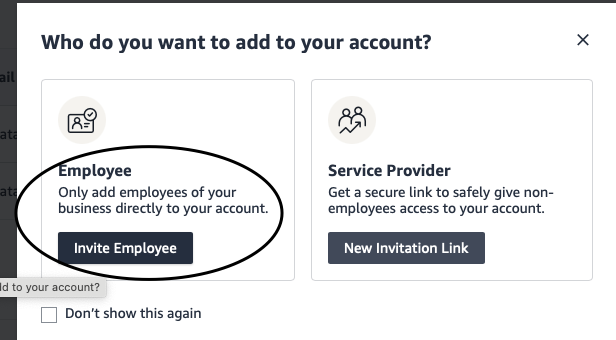
In the dialog that opens, choose the left option — Invite Employee.
Enter the following and click Send Invite:
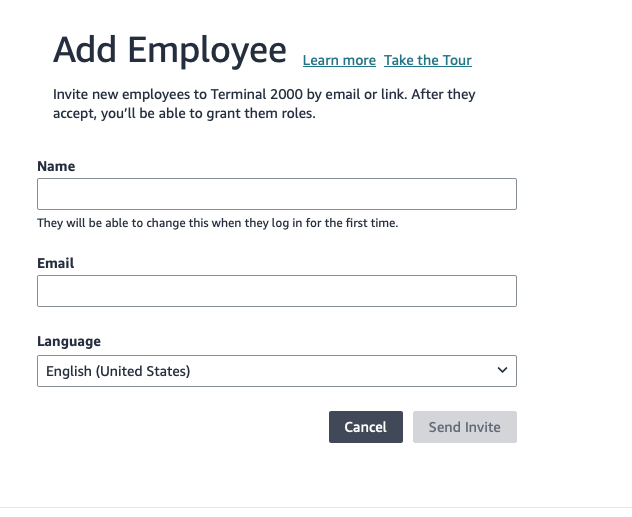
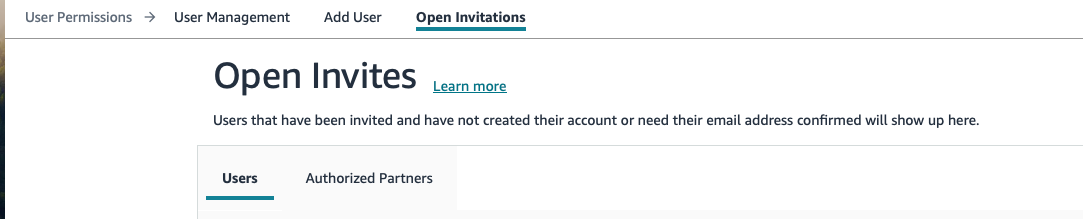
You'll be sent to the Open Invitations page automatically. The invite will show as Pending. We'll accept it on our end — no action needed from you here.
Once we've accepted, go to User Management, find our user, and click Edit next to the name.
Use the search bar at the top of the permissions page to find each section quickly.
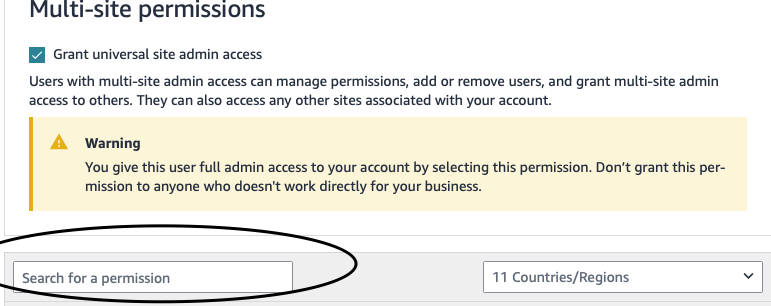
Each one unlocks a specific part of your audit. Here is what you get from each.
What this shows you: every campaign, keyword and search term your ad budget is actually spent on. In your audit this becomes the wasted-spend number — the specific keywords taking money each month without producing a sale, and what stopping them would put back in your pocket.
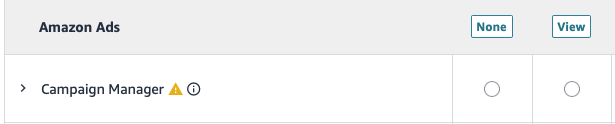
What this shows you: how many people reach each product page and what share of them buy. This is how your audit tells a traffic problem apart from a conversion problem — whether your listing needs more visitors, or whether the visitors you already have are leaving without buying.

What this shows you: the business-buyer half of your sales, which sits in a separate report most sellers never open. Your audit uses it to show how much of your revenue comes from business customers and which of your products sell better to businesses than to consumers — often a channel that is already working and simply has nobody paying attention to it.

What this shows you: this is the one that turns the audit from a set of screenshots into your real numbers. It lets your account connect to our reporting tool through Amazon's own app authorisation, so the audit can read your actual fees, inventory and returns — and give you a true profit figure per product, after every Amazon fee. Most sellers are estimating that number. Without this permission, so are we.

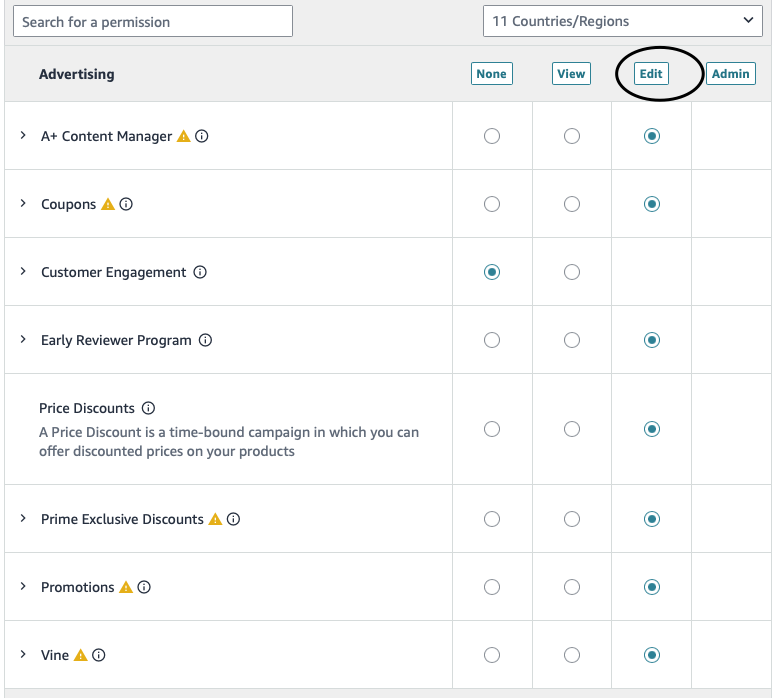
Use the Edit button at the top of each permission group to apply it to every item in that section at once. This covers all of the above and lets us act on what the audit finds, rather than handing you a list of fixes to make yourself.
Scroll to the bottom of the permissions page and click Save Changes. That's it — you're done.

Once permissions are saved, everything is set up on our end.
Next step: book a free strategy session so we can walk you through what the audit found and where the growth is.
— The Ecommagnet Team